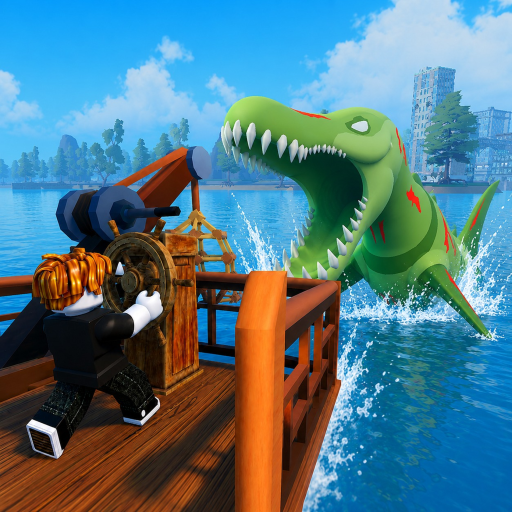
Fish And Monsters Tier List
Choosing the right rod, targeting the correct rarity tier, and timing buff items defines your Fish And Monsters progression speed. Our tier lists rank every category with upgrade paths, cost-efficiency notes, and event pairings. Use this hub to find the right ranking page for your current game stage, then cross-reference with island guides and walkthroughs for full context.
Tier List Categories
Best Rods ranks WoodRod through Leviathan Rod with upgrade timing and cost-efficiency analysis. Fish Rarity Tiers explains Common through Secret sell values, spawn locations, and collection priority. Buff Items compares Luck, EXP, Quickbite, Exper Seller, and event buffs with stacking rules.
Each tier list page includes FAQ sections and links to related guides. Start with the category most relevant to your current bottleneck — gear, target fish, or session buffs.
How We Rank Items
Rod rankings weigh luck stat, reel speed, acquisition cost, and event performance. A rod that excels during Sea Monster Raids ranks higher than one with marginally better luck but slow reel speed. Fish rarity tiers rank by sell value, spawn difficulty, and collection prestige. Buff items rank by duration, magnitude, availability from active codes, and synergy with global events.
Rankings update after major patches when Losi Studio adjusts stats or adds new content like the Cape Town update.
Early Game Tier Priorities
New players should read rod tier list first — upgrading from WoodRod to Crab Rod to Scorpio Rod delivers the biggest power spike per Cash spent. Fish rarity tiers matter less until you reach SeaBreeze. Buff items from starter codes like LOSISTUDIO and SORRYFORTHEBALANCINGBUG3 accelerate early progression significantly.
Follow getting started walkthrough while referencing rod tiers so you know exactly when each upgrade becomes affordable and worthwhile.
Mid to Late Game Priorities
Mid-game players crossing into Cape Town should study fish rarity tiers to target Epic and Legendary spawns efficiently. Shark Rod becomes the priority upgrade from rod tier list. Buff tier list helps you stack the right codes before Cosmic Blessing and Midnight Mutation windows.
Endgame players cross-reference all three tier lists before Leviathan Madness sessions to optimize rod, target fish, and buff loadout simultaneously.
Using Tier Lists With Events
Tier rankings shift in value during events. A B-tier rod location combination becomes S-tier during Cosmic Blessing if it accesses Legendary pools. Quickbite buffs rank higher during bulk Common farming but lower during Abyss Gate Legendary sessions where reel speed from your rod matters more.
Check events hub before each session and adjust your tier list priorities accordingly. Event timer reference helps schedule sessions when tier-relevant events align.
Related Progression Resources
Tier lists complement but do not replace detailed guides. Pair rod tiers with rod progression guide for step-by-step upgrade routes. Pair fish tiers with how to get rare fish for spawn and mutation strategies. Pair buff tiers with buffs guide for code redemption details.
Item pages at rods, buffs, and treasures provide acquisition methods beyond tier rankings alone.
Frequently Asked Questions
Which tier list should I check first? ▼
Start with rods if you are early game. Check fish rarity when planning island routes. Check buff items before event farming sessions.
Do tier lists update after patches? ▼
Yes. We revise rankings when Losi Studio releases balancing updates or new rods, fish, and islands.
Is Leviathan Rod always S-tier? ▼
Yes for endgame content. Mid-game players should not prioritize it until Shark Rod and Cape Town progression are complete.
How do events affect tier rankings? ▼
Events temporarily elevate certain buffs and locations. Cosmic Blessing makes Abyss Gate S-tier for fish rarity regardless of normal spawn rates.
Can I skip tiers in rod progression? ▼
Sometimes. Jumping from Crab Rod directly to Scorpio Rod works if you have enough Cash. See rod progression guide for cost analysis.